how-to · planter bench · community projects
How to Build a Native Pollinator Planter Bench for a Park, School, or Library
How Pollinate Happiness designs, builds, sites, and plants a public pollinator planter bench, from choosing a host site and materials through the steel sign, soil, plant list, and first-year care.
By Aidan and Ben Ellis · Published September 8, 2026 · Updated September 28, 2026 · 8 min read
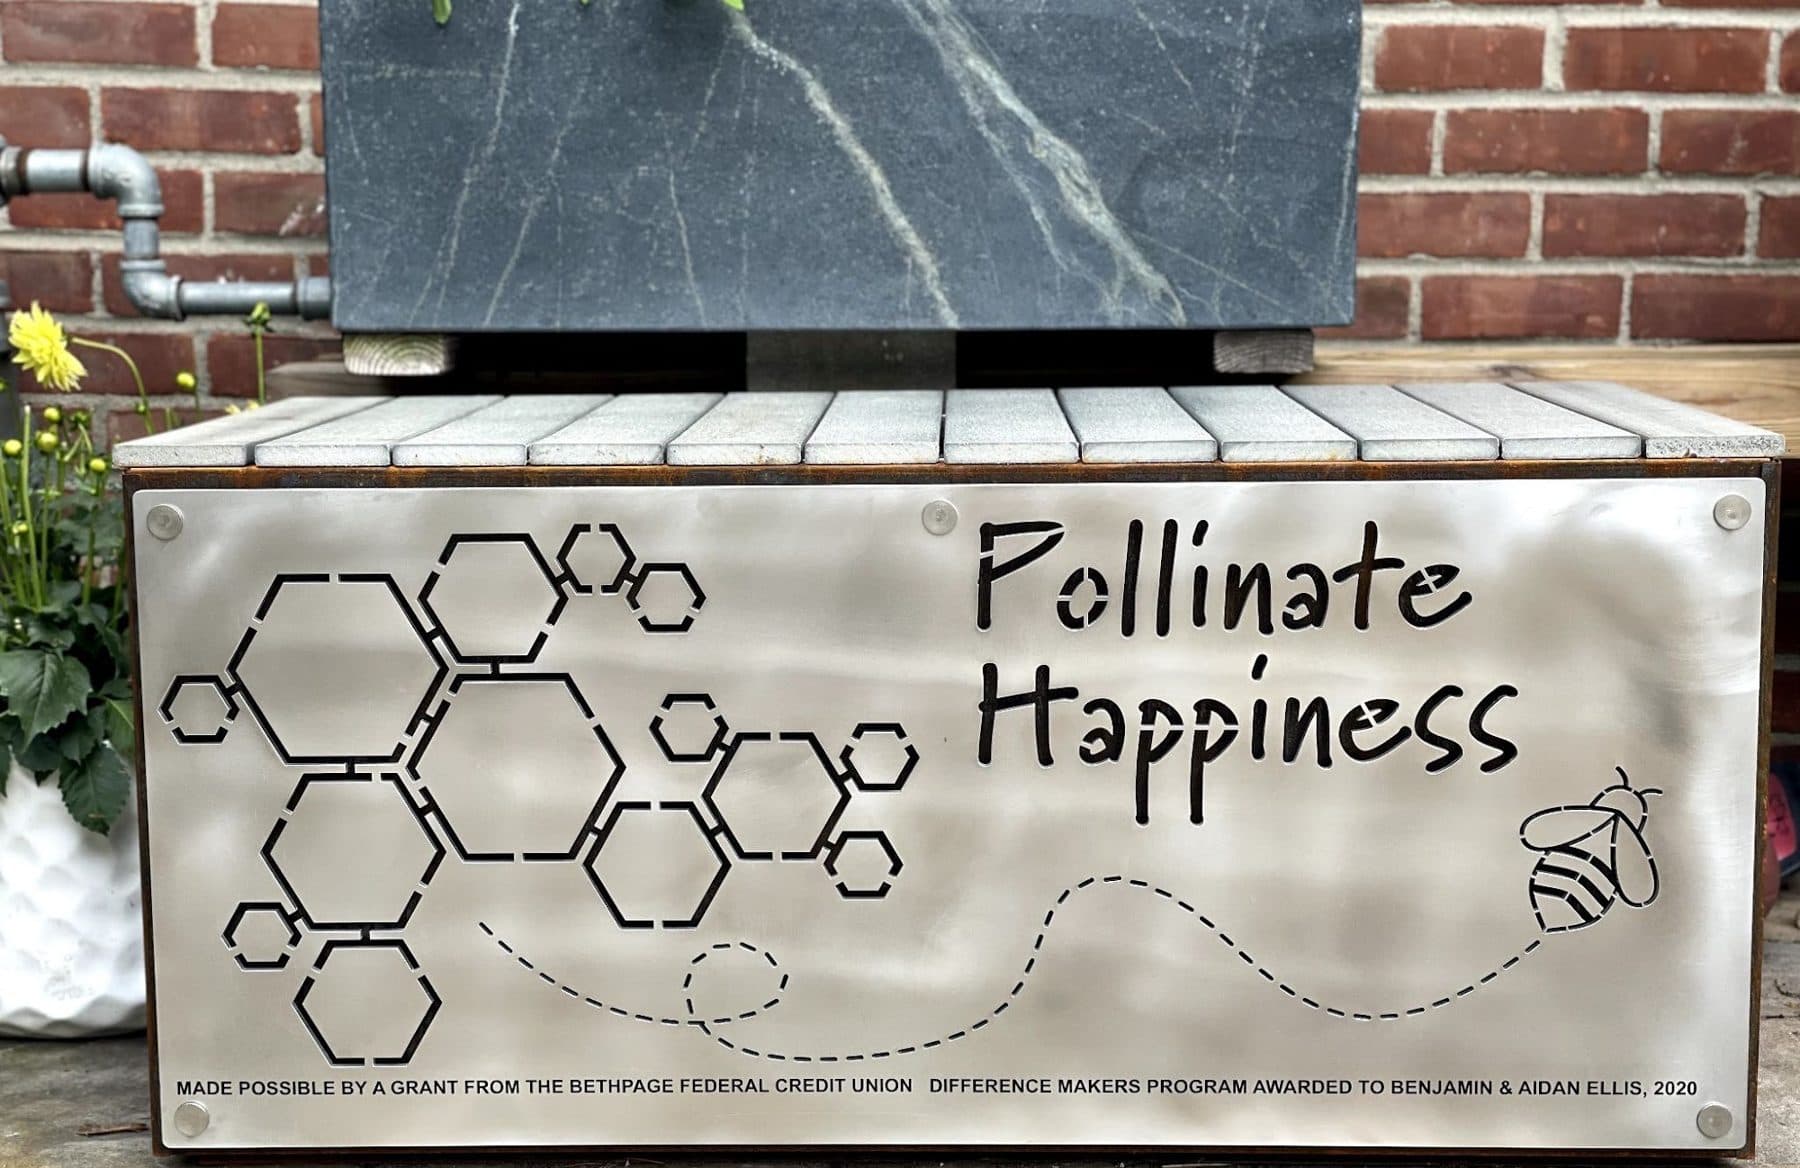
A planter bench is a pollinator garden that can go where a garden cannot: a paved library entrance, a museum patio, a preserve trailhead. It is visible, it is at eye level, and it invites people to sit next to the bees. This is how we build ours.
Step 1: Find a host site
Every Pollinate Happiness installation started with a conversation. Our first was at Wawapek Preserve through an introduction to the North Shore Land Alliance; later ones came from a library, Audubon, and an art museum that already knew the project.
What a good site needs:
- Six hours of sun. Walk the site at different times of day before you agree to it.
- Foot traffic. The point is education. A spot by an entrance beats a beautiful corner nobody passes.
- A water source and a person. Someone on staff who will drag a hose over once a week the first summer. After that the natives mostly fend for themselves.
- Permission in writing, including who owns the planter and who maintains it long term.
Step 2: Fund it
Our first bench was paid for by a Bethpage Federal Credit Union Difference Makers youth grant. Later installations were Eagle Scout projects with donated materials from The Home Depot and support from Nice-Planter. We also run a GoFundMe.
A realistic materials budget for one installation:
| Item | Typical cost |
|---|---|
| Steel or cedar planter (built or fabricated) | $800–2,500 |
| Laser-cut steel sign | $150–400 |
| Soil and compost (about 1 cubic yard) | $100–200 |
| 20–30 native perennials in quarts | $200–400 |
| Hardware, liner, delivery | $100–250 |
Look for youth grants from credit unions, utilities, garden clubs, Rotary, and county legislators, and see our guide to funding a student environmental project.
Step 3: Design the planter
Our benches are laser-cut steel boxes about 6 to 8 feet long, 2 feet wide, and 18 to 24 inches deep. Steel lasts for decades and develops a handsome patina; cedar is lighter and cheaper and lasts 10 to 15 years. The Nassau County Museum of Art sensory planter is cedar, raised on legs so a wheelchair rolls underneath.
Design notes:
- Depth. 18 inches minimum. Deep-rooted natives like coneflower and milkweed need room, and a deeper bed dries out slower.
- Drainage. Half-inch holes every foot in the base, and a few inches of gravel or upturned nursery pots at the bottom.
- Seat height. If it is a bench, 17 to 19 inches to the seat with a wide lip.
- Weight. A filled 8-foot steel planter weighs well over a ton. Build or deliver it empty, on site.
Step 4: Make the sign
The sign is what turns a planter into an outreach project. Ours carry the project name, a design (honeycomb and bee for the first bench, a dandelion seed head for later ones), the sponsor credit, and the website. Aidan and Ben drew the honeycomb design, had it laser cut, and then ground, polished, and stenciled the steel themselves. You can see the process in the photo gallery.
Step 5: Deliver and fill
Move the empty planter with a hand truck, furniture dolly, or a few strong friends; we have carried one across a meadow. Level it with shims. Add the drainage layer, then fill with a container mix blended about 3:1 with compost. Straight topsoil compacts and drowns roots in a container; straight potting mix dries out too fast. Fill to about two inches below the rim and water it to settle.
Step 6: Plant a three-season native mix
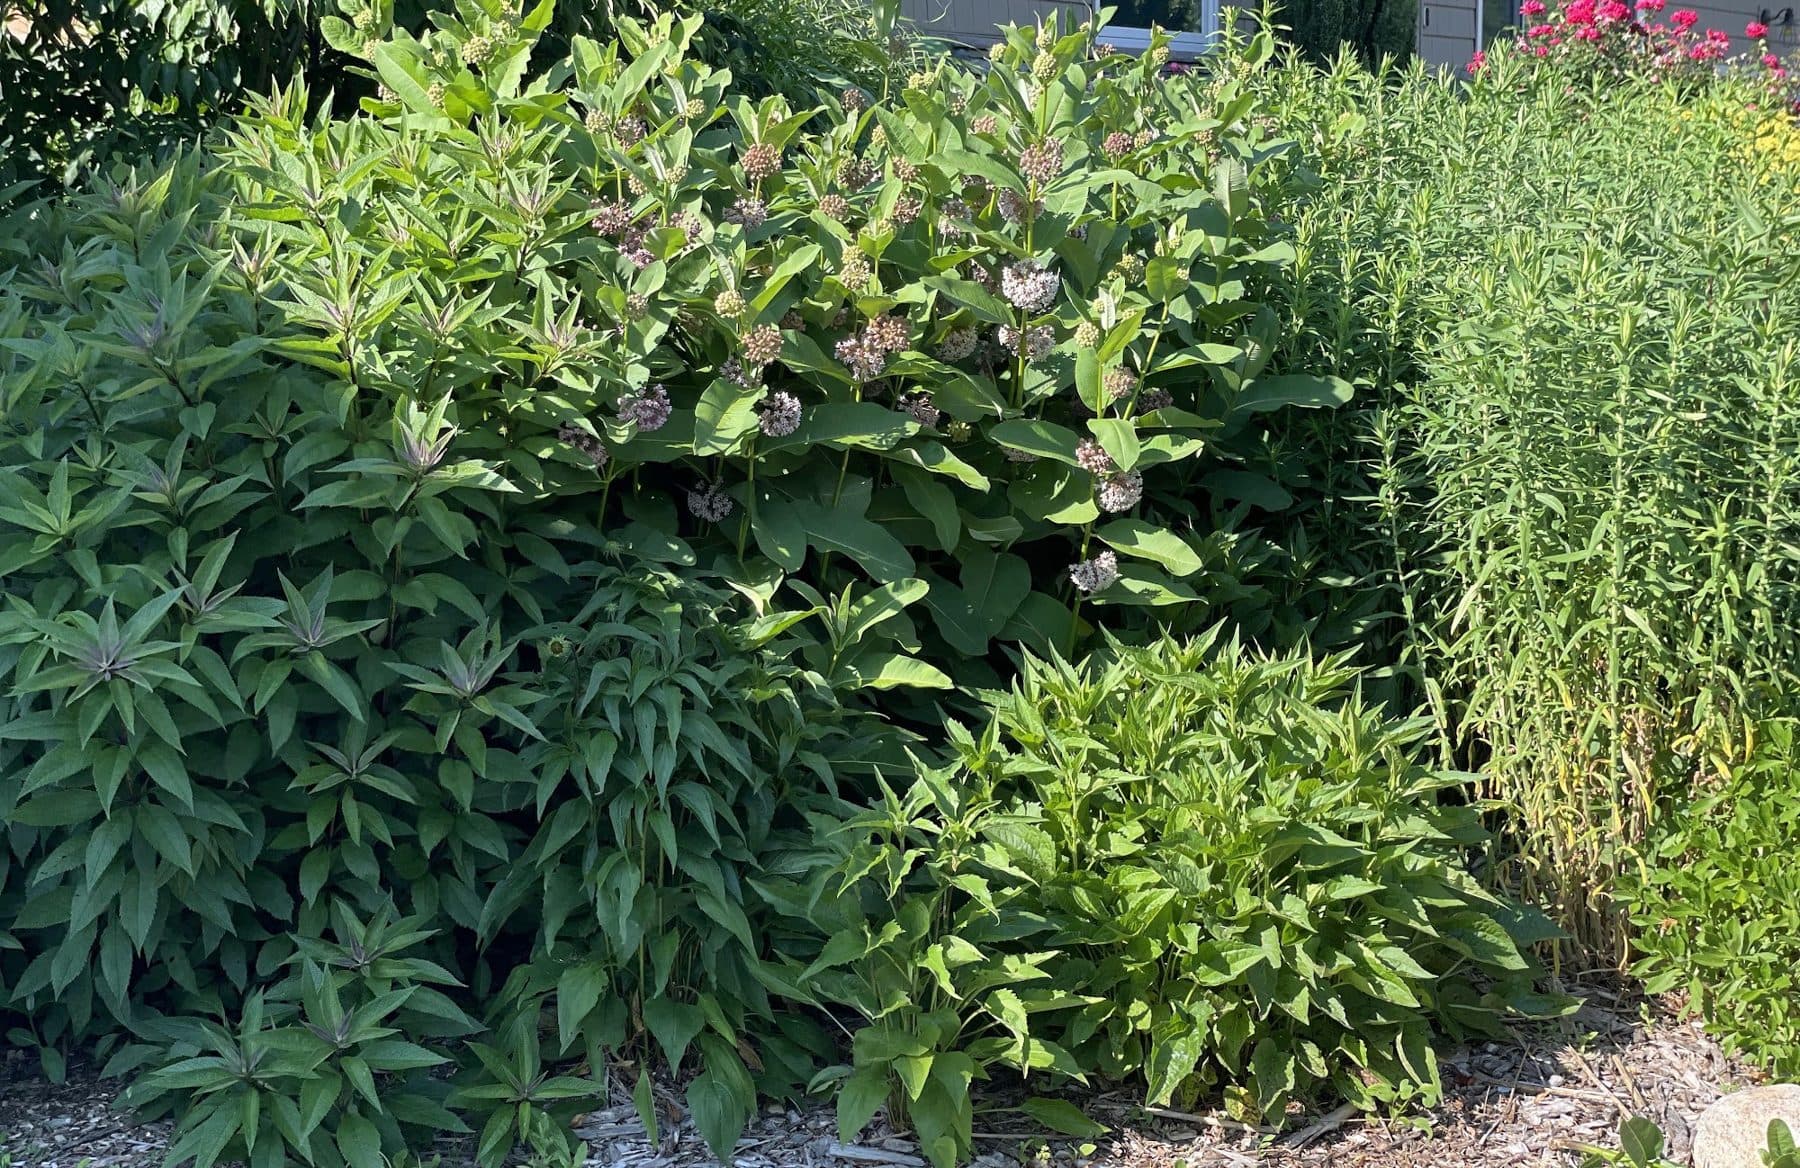
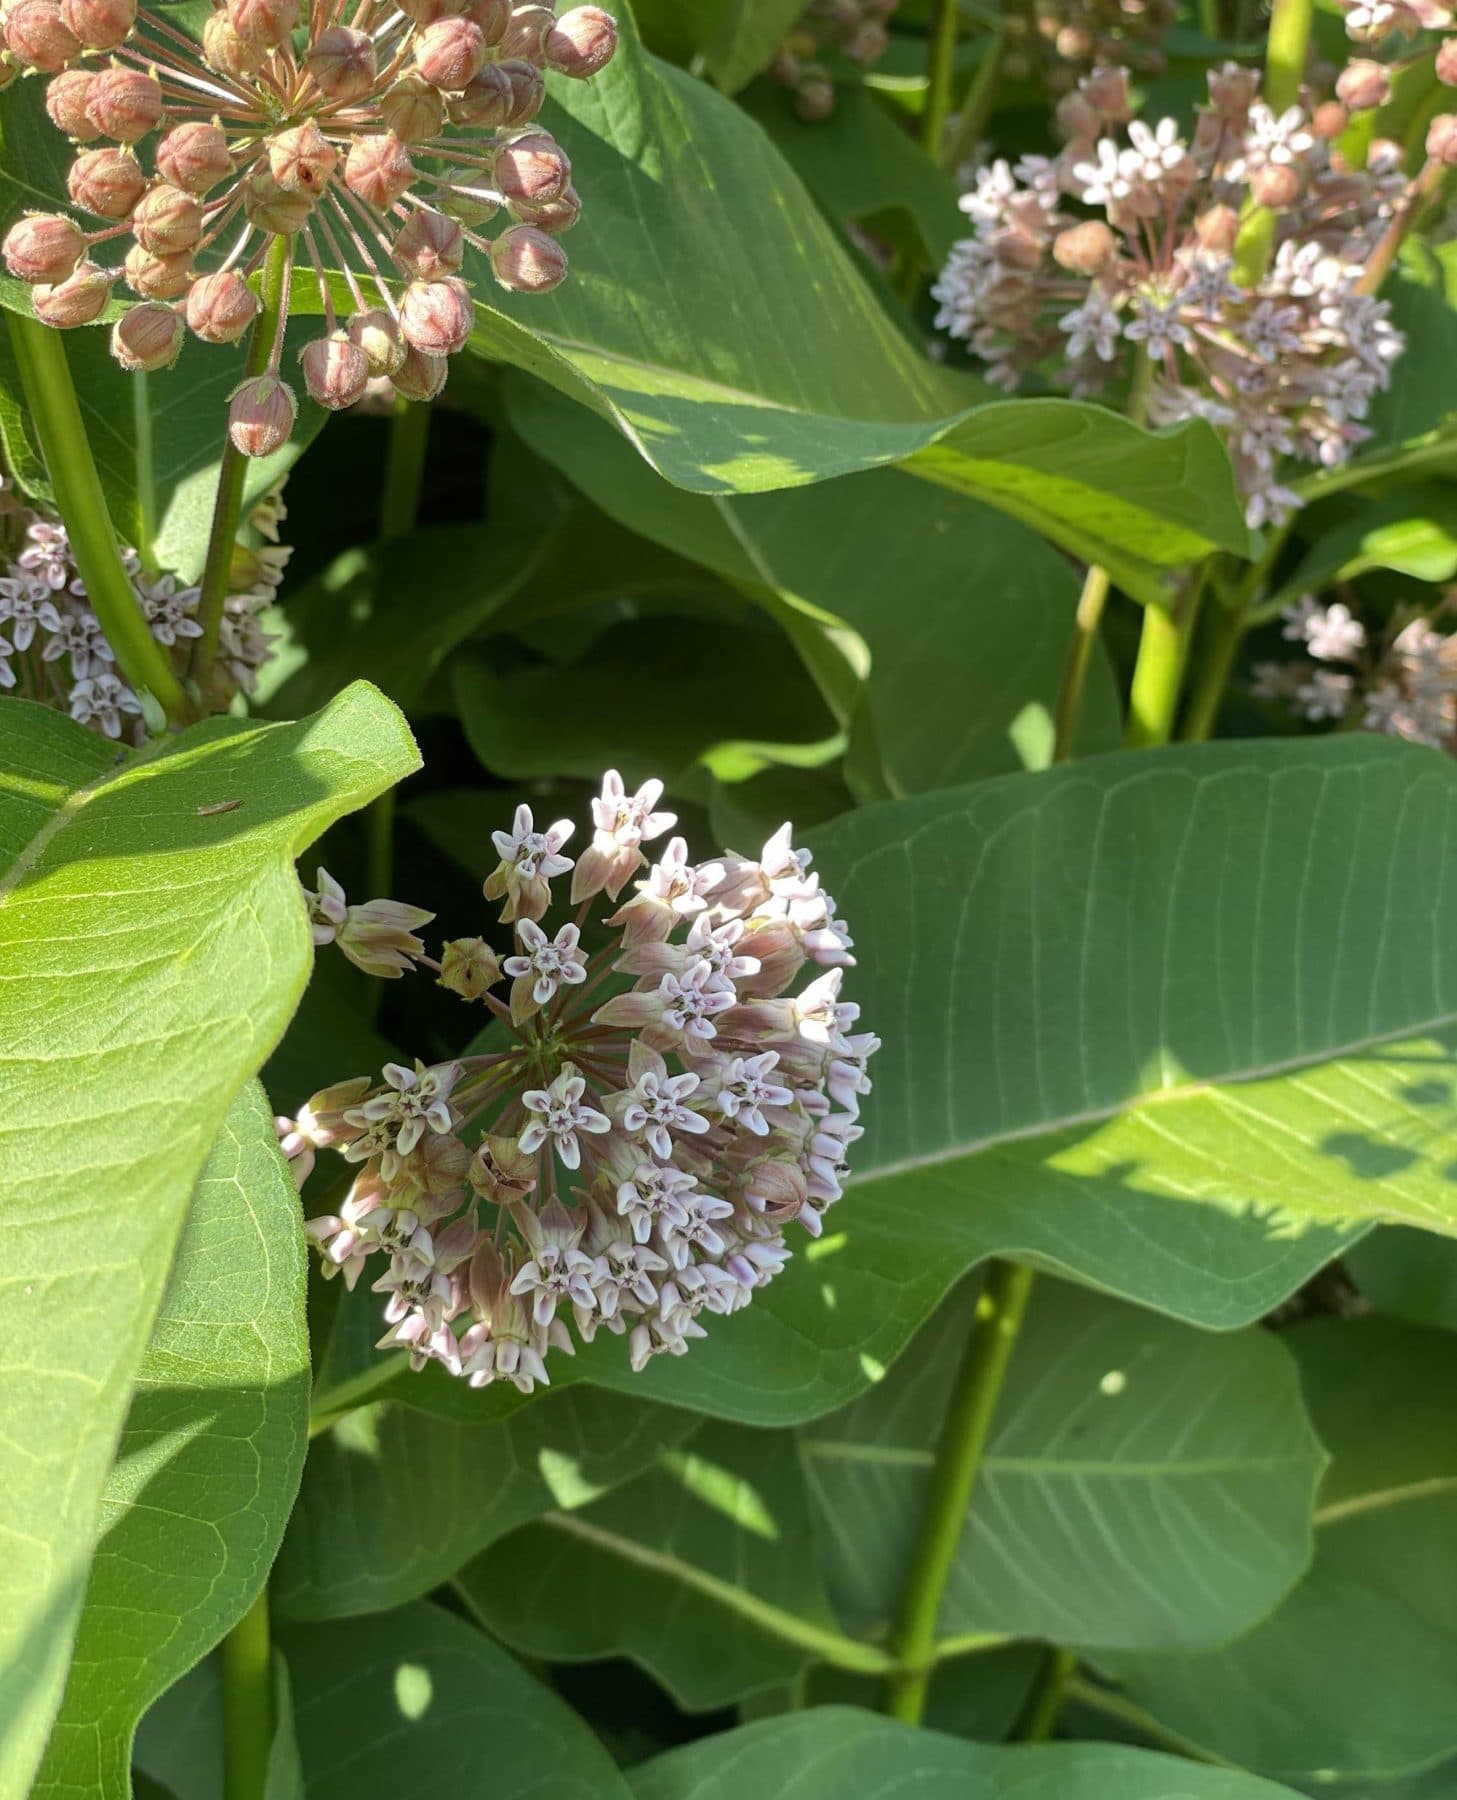
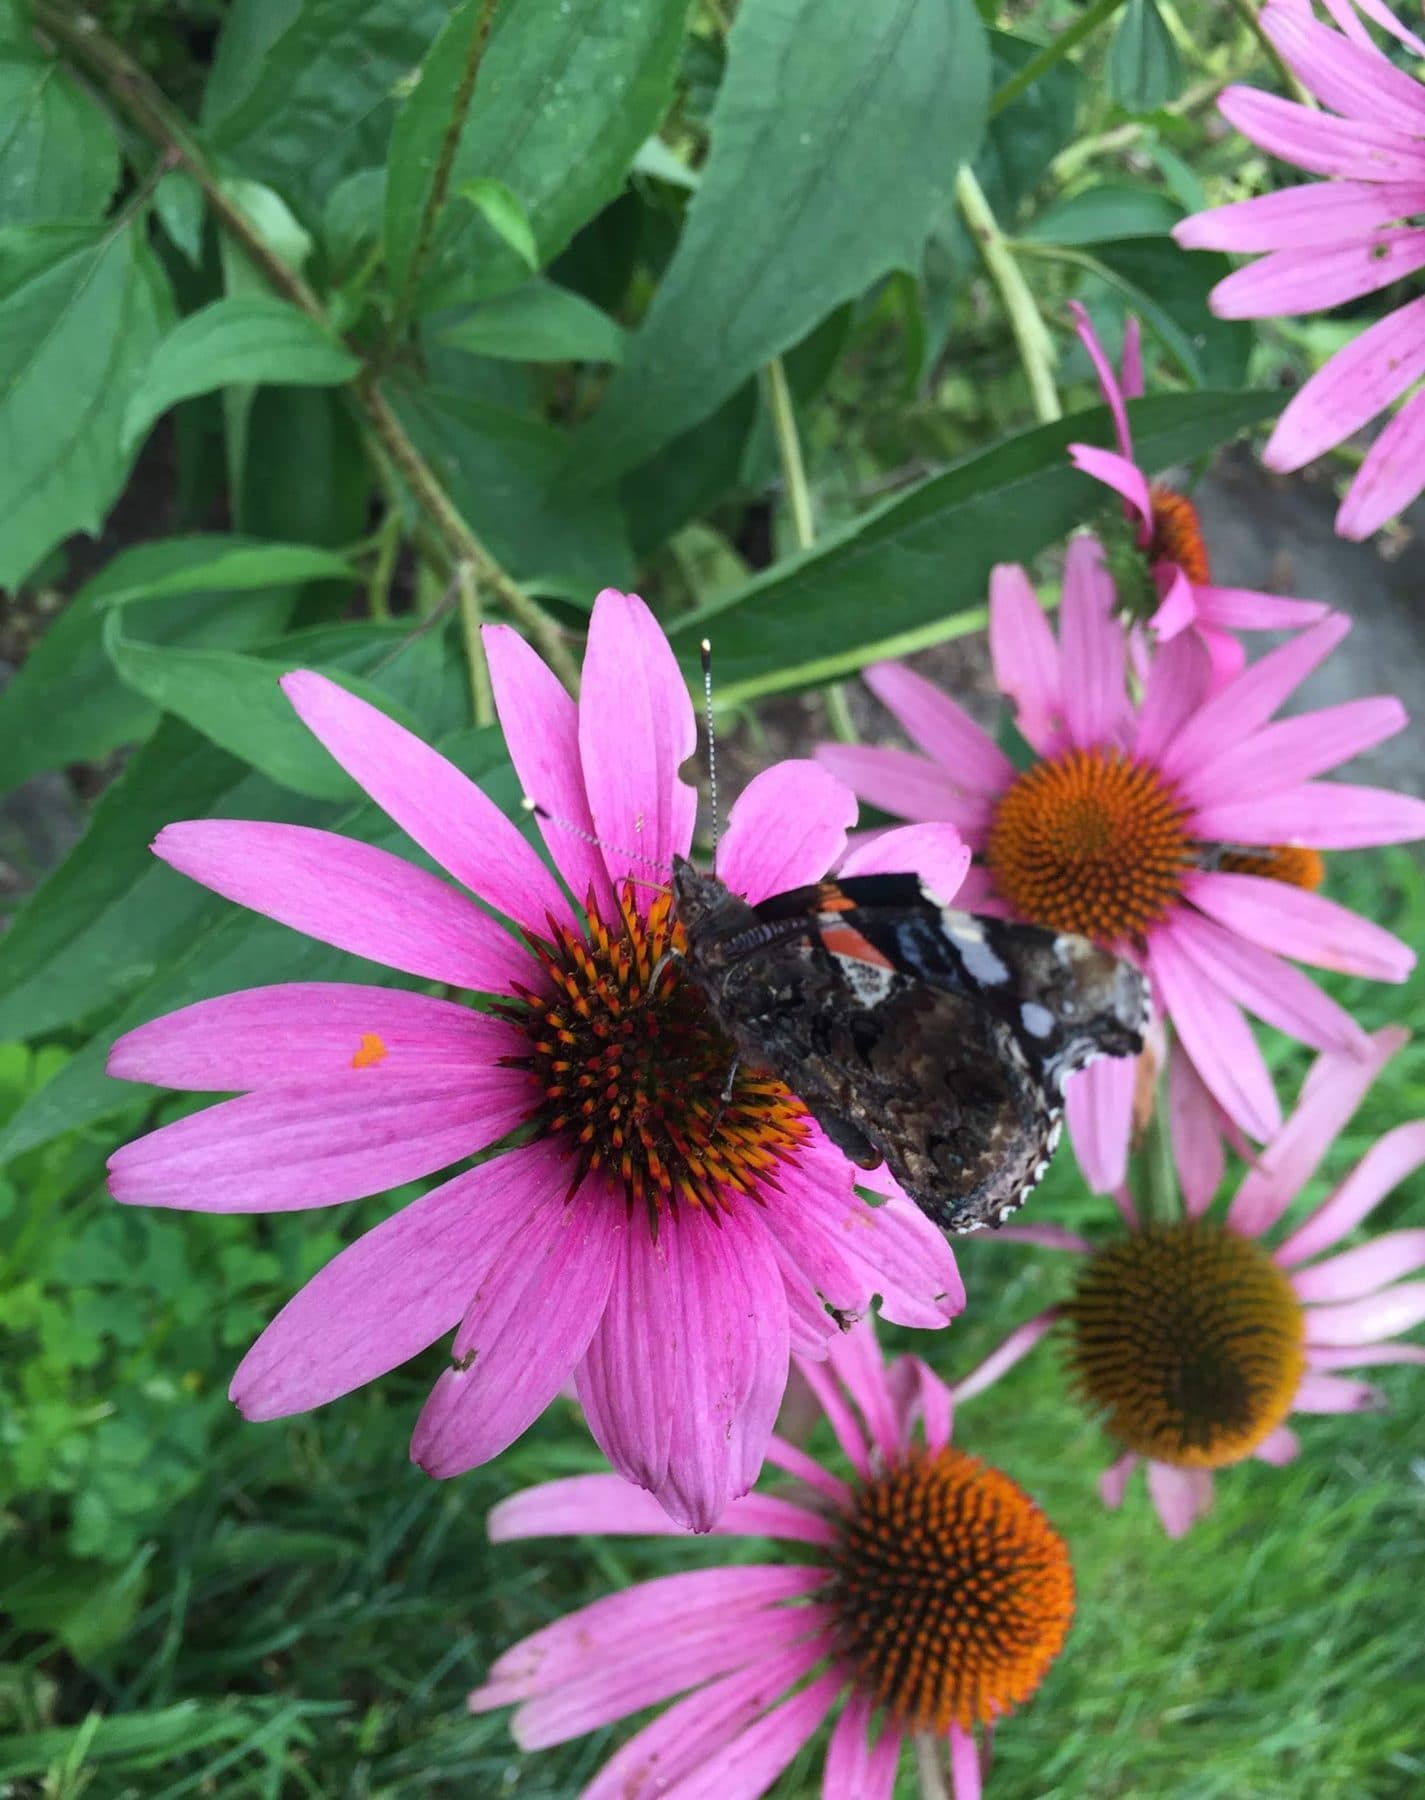
The Wawapek mix is a good template for a sunny site: purple coneflower, common milkweed, bee balm, goldenrod, and black-eyed Susan. For a smaller planter, use compact selections that keep the wild flower form: 'Baby Joe' Joe Pye weed, dwarf goldenrod, and phlox, which is what we used at the Theodore Roosevelt Sanctuary.
Plant in drifts, tallest at the back or center, 12 inches apart. Tuck a native grass like little bluestem at the ends for winter structure. See the plants we use for details on each.
Step 7: Hand off care
Leave the host a one-page care sheet:
- Water deeply once a week the first summer, twice in a heat wave.
- No pesticides or herbicides, ever. Chewed leaves mean it is working.
- Leave everything standing through winter for birds and overwintering bees.
- Cut back to 6 inches in mid-April and top up with an inch of compost.
- Pull anything you did not plant.
Then come back in July with a camera. Our first bench was covered in bumble bees within a week of planting. That photo is what convinced the next host.
Sources
- Xerces Society, "How to Make a Pollinator Garden" - https://www.xerces.org/blog/how-to-make-pollinator-garden
- National Wildlife Federation, "In Container Gardening, Small Yields Big Wins," National Wildlife magazine (2025) - https://www.nwf.org/Home/Magazines/National-Wildlife/2025/Spring/Gardening/Container-Gardening-Native-Plants
- Xerces Society, Nesting Resources for ground-nesting bees - https://xerces.org/pollinator-conservation/nesting-resources
Written by Aidan and Ben Ellis of Pollinate Happiness, Long Island, NY. Found an error? Let us know.